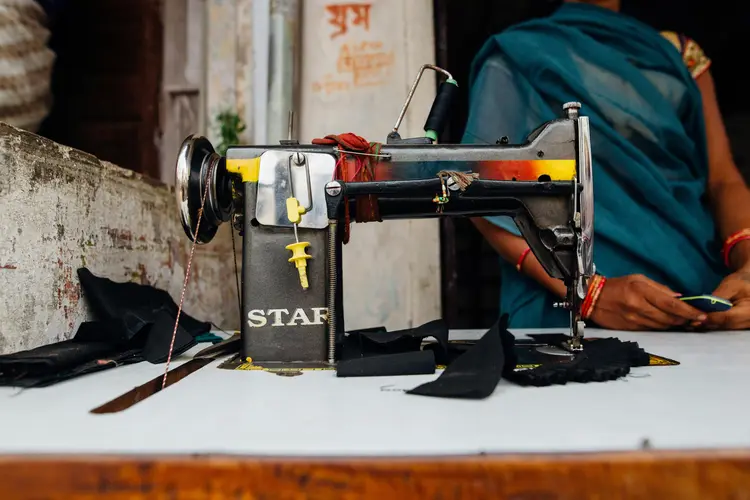
A sewing machine is essential for stitching fabrics and other flexible materials together using threads. Invented during the first Industrial Revolution, sewing machines aimed to streamline manual sewing processes in garment industries, significantly enhancing efficiency and productivity in fabric, garment, and needle sectors.
It’s crucial for operators to understand the various parts and functions of a sewing machine to grasp its operation fully. Garment manufacturing utilizes different types of sewing machines, categorized into domestic and industrial variants. These machines utilize feeding devices to control fabric and create precise stitches, with each part and attachment serving a specific purpose. Sewing machine operators must have the knowledge and skills to operate various types of machines effectively. Familiarity with sewing machine operations, parts, functions, attachments, and stitching-related terminology is essential for seamless operation. This unit provides insights into common and vital terms relevant to sewing processes.
Sewing Machine Parts
- Foot pedal
- Hand wheel
- Thread cutter
- Power cord and switch
- Presser foot lever
- Reverse lever
- Spool pin and holder
- Bobbin winder
- Pattern selector
- Stitch length adjustment
- Tension disks
- Needle and needle clamp
- Take-up lever
- Presser foot
- Presser dial
- Throat plate
- Feed dog
- Face plate
- Sewing light
- Slide plate
- Bobbin case
- Bobbin
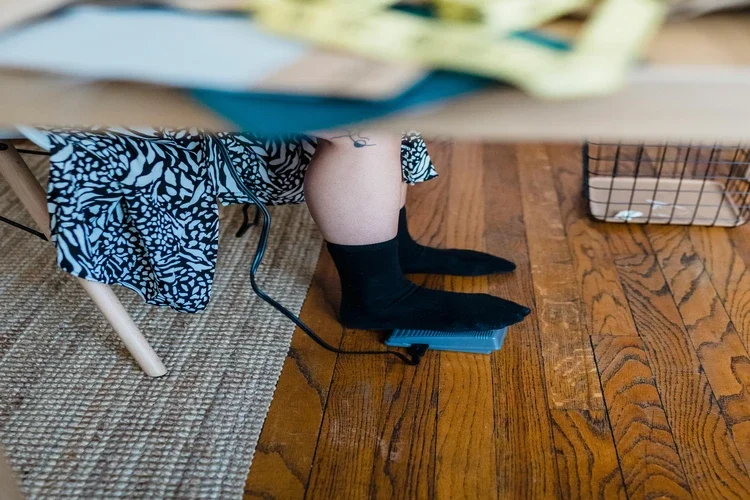
Foot pedal
It controls the machine’s speed, which is influenced by the pressure applied to it. However, in high-speed sewing machines, it’s not essential because the machine’s speed can be adjusted with a single control, and starting and stopping the sewing machine is handled with the push of a button.
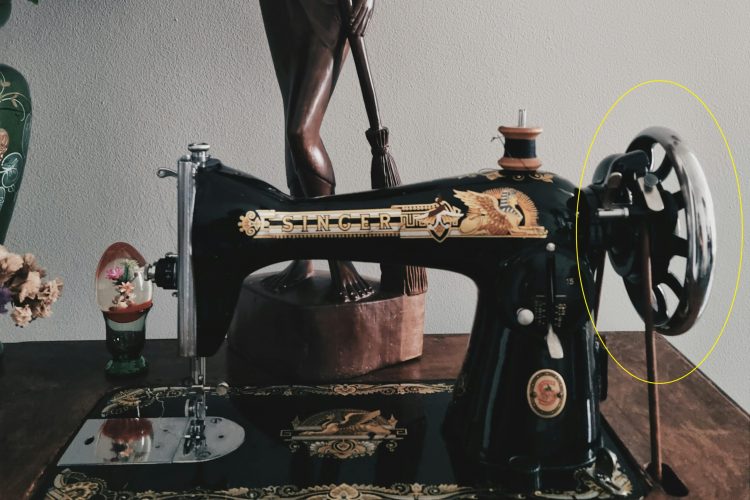
Hand wheel
It’s designed to manually raise and lower the sewing needle slowly, enabling precise fabric positioning beneath the needle. The clutch knob, situated inside the wheel, acts as a safety feature. When pulled out, it prevents the needle from moving up and down, which proves particularly handy when winding a bobbin.
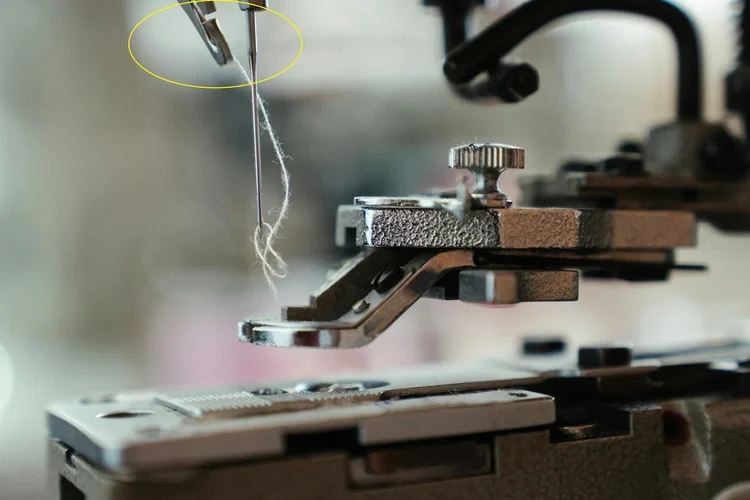
Thread Cutter
The thread cutters on sewing machines are usually situated behind the needle for easy access. This setup makes it simple to cut the sewing thread while moving the fabric to the back of the machine.
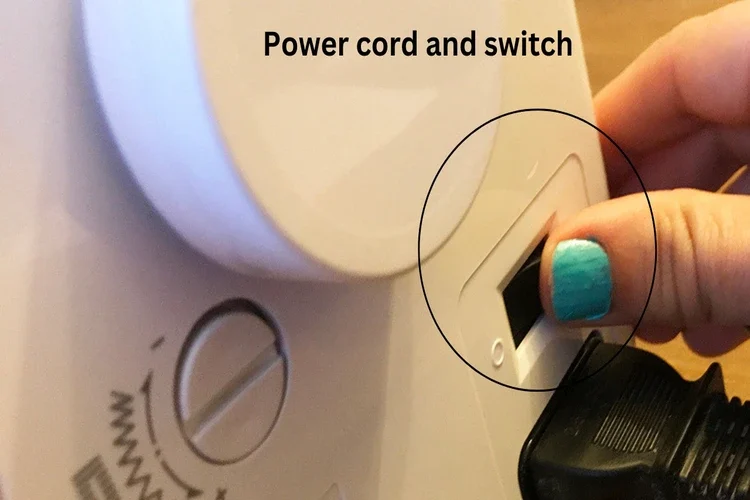
Power cord and switch
The sewing machine relies on electricity supplied through its power cord, which needs to be firmly connected to maintain a consistent power flow. The power switch is responsible for controlling the electrical functions of the sewing machine, enabling users to turn it on and off as needed.
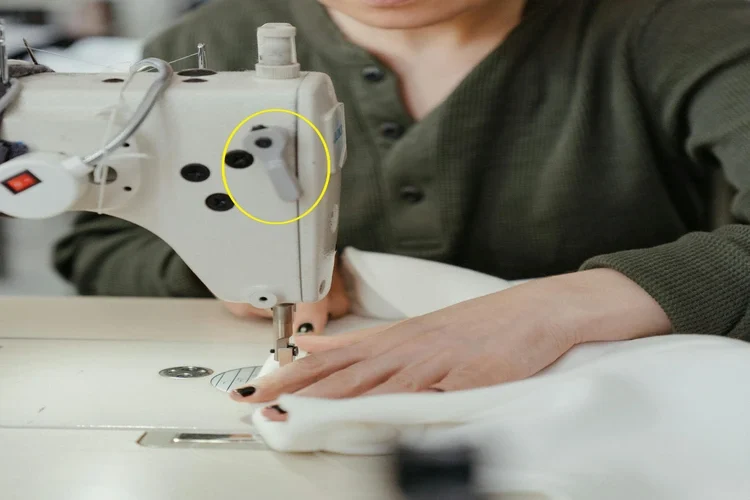
Presser foot lever
This lever serves to delicately lift and lower the presser foot onto the fabric, ensuring it’s pressed against the feed dogs. When positioned upward, it disengages the tension disks, while lowering it engages them.
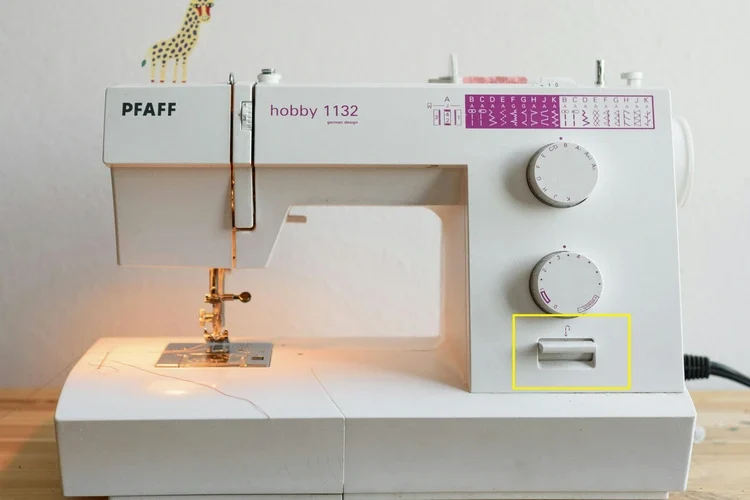
Reverse lever
Positioned on the front side of the machine, this control is utilized to perform reverse stitching at the conclusion of each seam, effectively securing it in place.
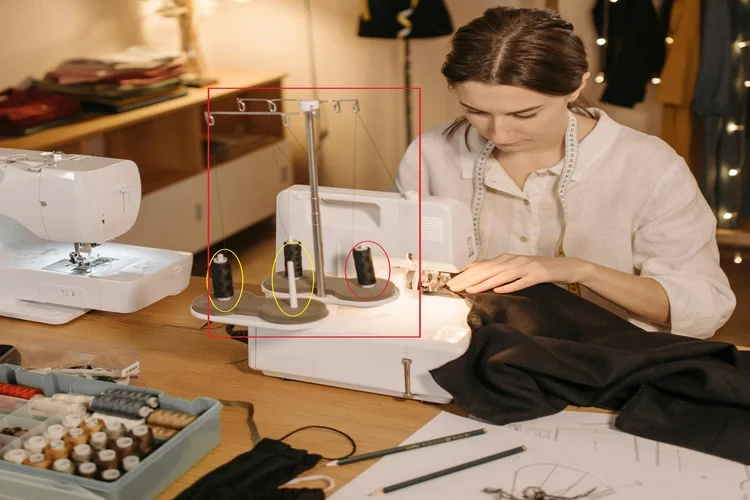
Spool pin and holder
It serves to hold the sewing thread in place and guide its direction as it travels through the machine.
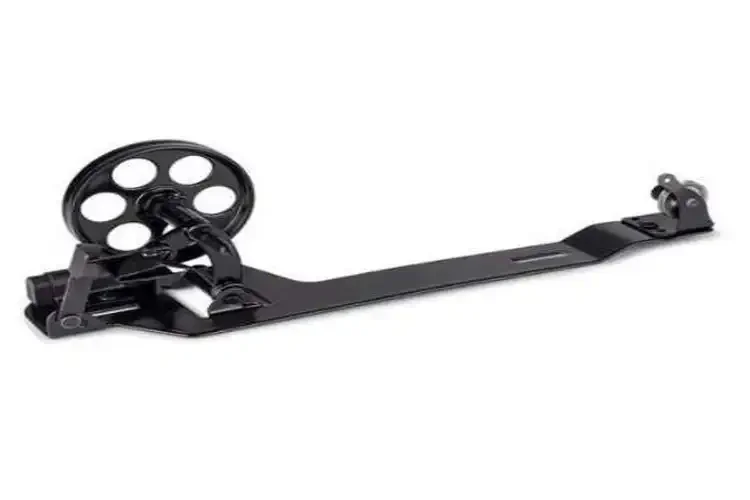
Bobbin winder
It’s used to wind the bobbin thread onto an empty bobbin. Bobbin winders can be found either at the top or on the right side of the machine.
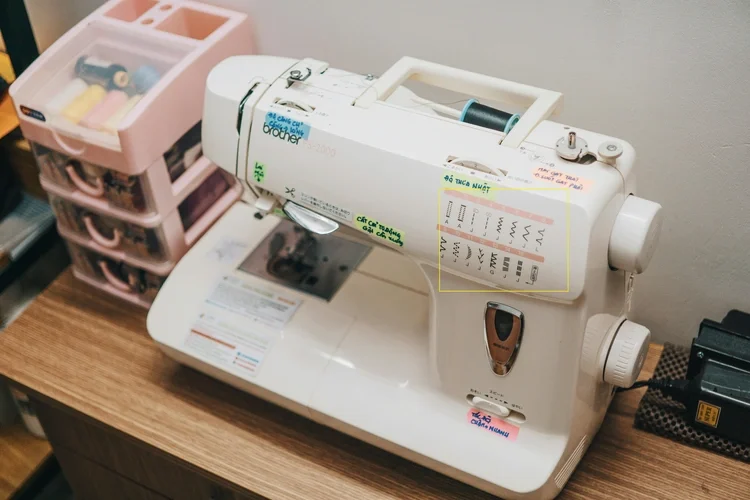
Pattern selector
It controls the stitch type to be sewn on the fabric, whether it’s a straight stitch, zigzag, or embroidery stitch. Different machine types offer a range of stitches beyond just straight stitches.
Stitch length adjustment
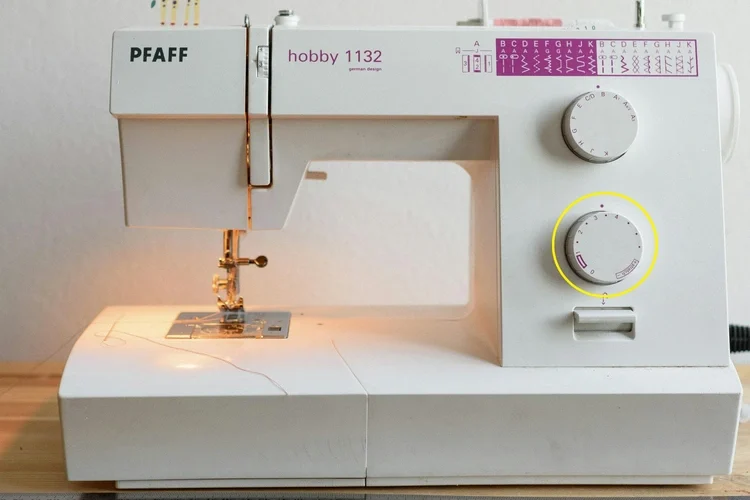
The stitch length setting determines the length of the stitches produced by the machine, usually ranging from 0 to 4. When set to 0, the stitches are at their shortest, while 4 produces the longest stitches. This adjustment affects the length of stitches formed by the sewing machine, and it’s essential to understand that this adjustment occurs at the feed dog, not at the machine needle. Shortening the stitch length results in shorter stitches, indicating that less fabric is fed under the presser foot before the needle descends, and vice versa.
Tension disks
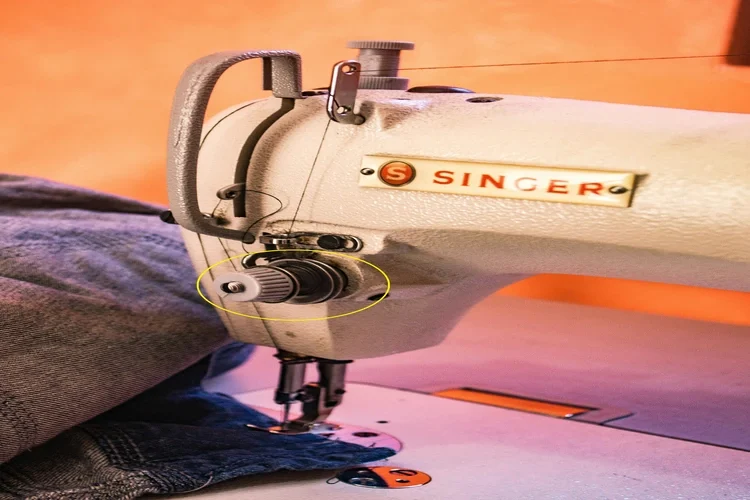
Thread tension is a critical factor in determining the tightness or looseness of stitches. Tension disks are pivotal in regulating the pressure applied to the thread, ensuring a consistent feed to the machine needle. The primary functions of the tension device encompass:
A) Positioning the thread accurately at the needle.
B) Controlling the flow of the thread.
C) Ensuring smooth and precise stitching.
D) Managing the passage of the thread with precision.
In sewing machines, there are two main types of tension devices: direct tension devices and indirect tension devices. These devices comprise various components such as pressure disks, tension springs, thumb nuts, tension mounting bars, and pressure releasing units. Modern and high-speed machines are equipped with a tension dial featuring graduated numbers, allowing users to adjust tension levels accordingly. Higher numbers on the dial correspond to increased tension, while lower numbers signify decreased tension. Proper tension adjustment is essential for achieving uniform and consistent stitch lines on both sides of the fabric.
Needle and needle clamp
The needle is inserted into the needle bar and secured in place with a small screw. The needle clamp is then used to firmly secure the needle in place.
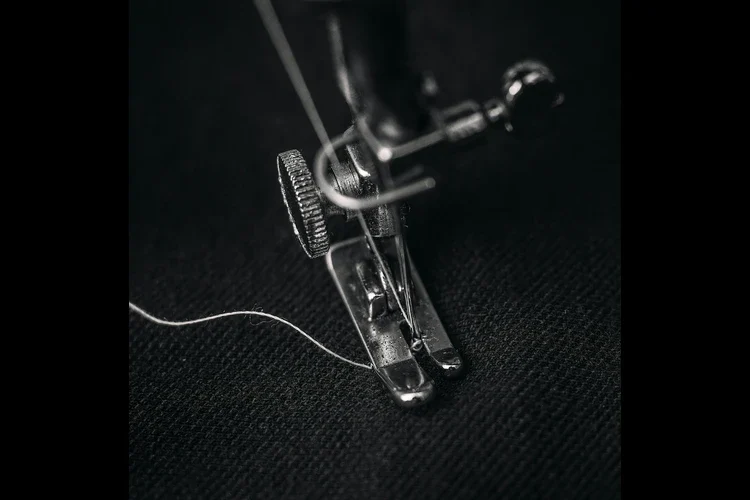
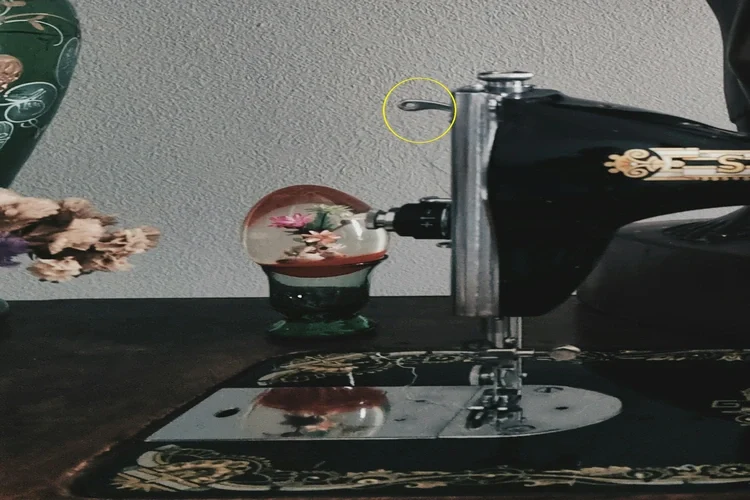
Take-up lever
The take-up lever moves up and down during stitch formation, providing extra thread to create the loop and pulling back the needle thread after each stitch to secure it. Its role is to maintain optimal tension in the needle thread.
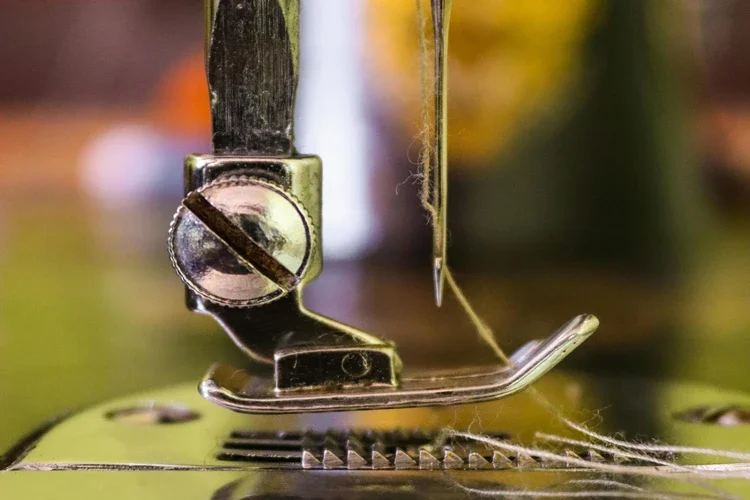
Presser foot
It’s responsible for securing the fabric against the feed dog, allowing it to be propelled through the machine. This component also applies downward pressure on the material as it moves beneath the needle.
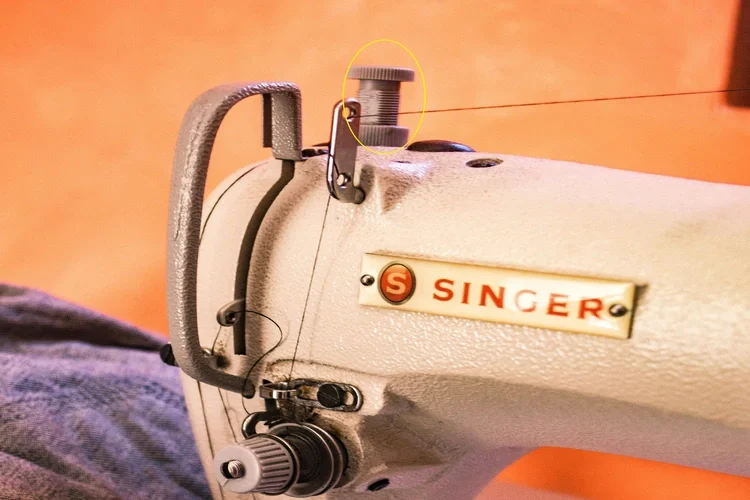
Presser dial
The presser dial determines how much pressure is exerted on the fabric through the presser foot. Lighter fabrics need higher pressure for better control during stitching, while heavier fabrics require less pressure.
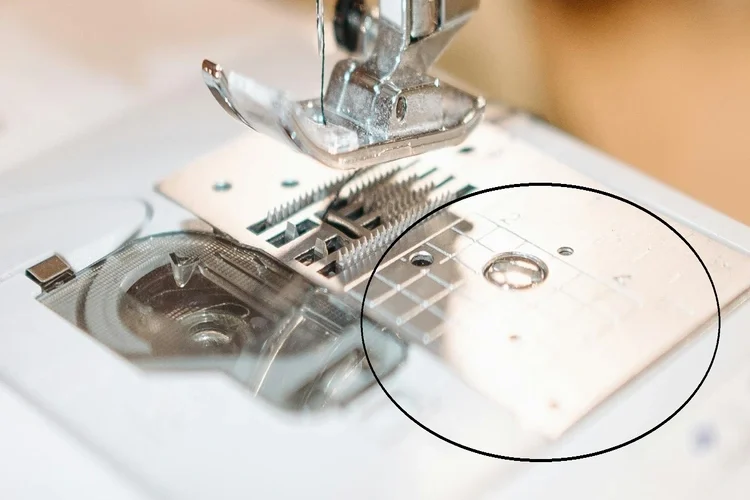
Throat plate
It features a hole for the needle to pass through to access the bobbin casing, a pair of slots for the feed dog’s movement, and stitching guide lines. This detachable component serves to cover the bobbin and the underside of the sewing machine.
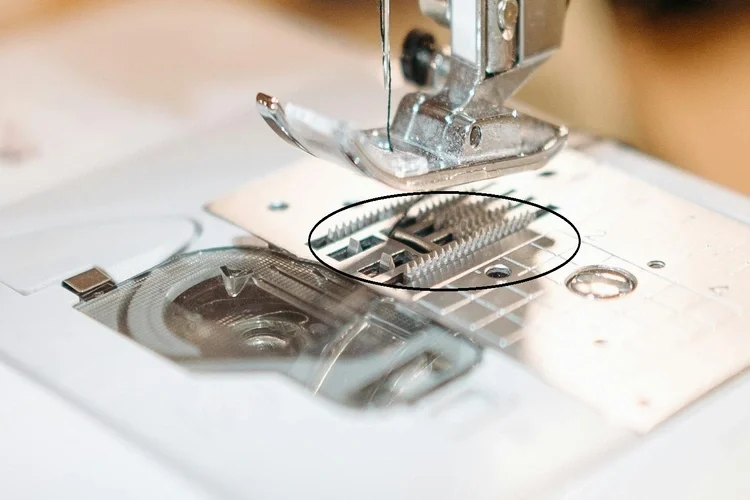
Feed dog
Feed dogs, resembling teeth, collaborate with the presser foot to move the fabric forward by one stitch at a time. Additionally, they regulate the length of the stitch by managing the fabric’s movement for each stitch.
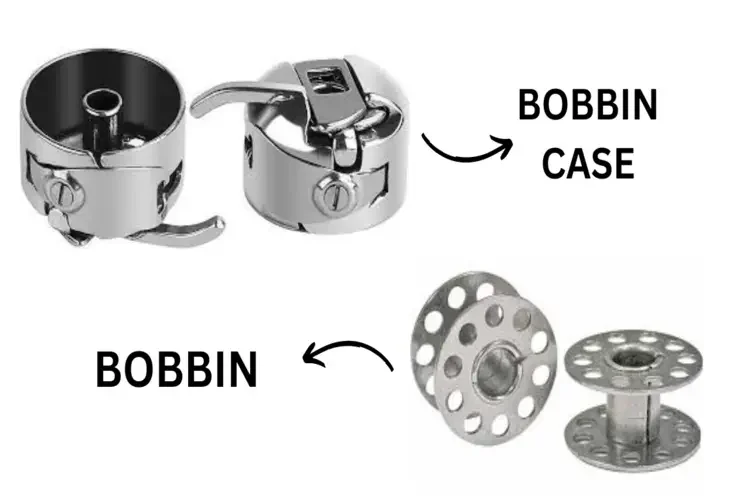
Bobbin and Bobbin case
This is the compartment where the bobbin is inserted and secured. Positioned beneath the needle plate, it typically includes a plastic cover that flips up to enclose the bobbin case when not in use. It’s important to remember that bobbin cases are not interchangeable between different sewing machines. The bobbin, a small spool holding the lower thread, is housed inside the bobbin case. To fill the bobbin, it’s loaded onto the bobbin winder, ensuring that the thread is evenly distributed across the spool.
You may also like:
- The History Of Sewing Machine
- Different Types of Sewing Machines
- Guide To Sewing Machine Needles Size, Types, And Uses
- Sewing Kits: A Comprehensive Guide
- Using a Seam Ripper: A Step-by-Step Guide
- Count of Yarn: Explanation and Varieties
- Yarn Manufacturing Process
- Varieties of Woven Fabrics and Their Applications
- Non Woven Geotextile Fabric
- What is Sisal Fiber? Properties, Structure, and How It Made?
Share this Article!

