
Explore how to effectively utilize a seam ripper and master two different methods for removing straight sewing stitches, along with helpful advice for unpicking serged seams. Unpicking is a fundamental skill for sewers at any level, as mistakes are a natural part of the process. Even experienced sewers, such as myself, who have been sewing since childhood, encounter days when things don’t go smoothly. So, what’s the best approach to unpicking stitches? Continue reading to find out!
What Does a Seam Ripper Do?
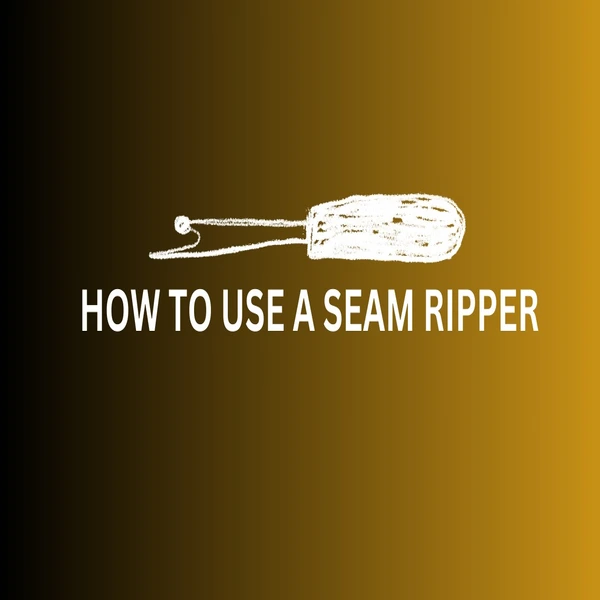
A seam ripper is a sewing tool designed for unstitching and cutting threads. It typically consists of a sharp point and a U-shaped blade for removing unwanted stitches. Many seam rippers also have a red ball on one of the prongs to prevent accidental fabric damage. The one shown above displays a common design with a simple plastic handle and metal tip. Seam rippers are also known as stitch rippers, unpickers, and stitch pullers, but they are often referred to generically as “unpickers.”
Ways to Utilize a Seam Ripper (Stitch Ripper)
The main roles of a seam ripper encompass cutting thread and undoing seams and stitches in case of errors. Utilizing a seam ripper helps mitigate the risk of fabric damage during stitch removal, although it’s not entirely foolproof. Seam rippers should be employed whenever stitches need to be removed due to misalignment or errors. It’s essential to refrain from pulling or ripping stitches out, as this can result in damage to the fabric.
Using a Seam Ripper for Straight Stitches
You have the option to utilize a seam ripper either from the inside or the outside of the seam. Below are two methods you can experiment with.
Method 1 – Utilizing a Seam Ripper on the Wrong Side of the Fabric
- Start by carefully unpicking every few stitches along the bobbin side of the seam.
Next, flip the fabric over and gently pull the top thread. It should easily come away in one piece.
Lastly, remove any stray tail threads from the fabric, and your task is complete.
Method 2 – Unpicking Seams from the Fabric’s Right Side
- Begin by unpicking a few threads on the outer side of the seam.
Then, delicately open up the seam to be unpicked and initiate cutting a few threads at a time. Make sure the ball of the seam ripper is facing downward.
Be cautious not to cut too many threads simultaneously to avoid damaging your fabric.


Using a Seam Ripper to Remove Serged Stitches
If you’ve used a 3 or 4-thread serger, there might be occasions where you need to undo a serged seam that didn’t go as planned. Despite the multiple threads involved, with some practice, you’ll discover it’s quite manageable. Like many sewing tasks, it may seem more challenging than it truly is.
Step 1 - Trim the Needle Threads
With the right side of the serger stitch facing up, trim both the needle threads every few stitches. These are typically the red and black stitches in the photo. If you’re dealing with a 3-thread serged seam, you’ll only have one of these threads to cut. It’s important to use a sharp seam ripper for this task, as a dull one may drag the threads and make it more difficult to remove the stitches effectively.
Step 2 - Eliminate Looper Threads
Now comes my favorite part – firmly grip the looper threads (the green ones), and the remaining stitches will begin to unravel. If you plan to resew the seam you’ve unpicked, keep in mind that the serger knife would have trimmed down the seam allowance. For a neat finish, use a sticky lint roller to remove any lingering threads.

FAQs About Seam Ripper
How to sharpen a seam ripper?
- If you notice your seam ripper is dull, you can try lightly rubbing its point with steel wool. However, it’s usually more practical to purchase a new one, as seam rippers are typically affordable and may not function properly once they become dull.
What is the purpose of the red ball on a seam ripper?
- Insert the end with the red ball into the fabric to prevent accidental holes and protect the fabric from being cut.
What can be used in place of a seam ripper?
- If you don’t have a seam ripper on hand, you can use a pair of embroidery scissors instead. These scissors are equipped with a fine, sharp point, making them ideal for unpicking seams.
You may also like:
- The History Of Sewing Machine
- Different Types of Sewing Machines
- Sewing Machine Parts And Functions
- Sewing Kits: A Comprehensive Guide
- Count of Yarn: Explanation and Varieties
- Yarn Manufacturing Process
- Varieties of Woven Fabrics and Their Applications
- Non Woven Geotextile Fabric
- What is Sisal Fiber? Properties, Structure, and How It Made?
Share this Article!