
Have you ever wondered how breathable an item like a sports jacket is, or how well air passes through a surgical mask? The answer can be found using a device known as an air permeability tester. This piece of equipment measures the resistance a material offers to air flow, thus air permeability testing helps to determine its breathability, porosity, and overall quality. In this case, the question is how to operate this instrument. This is what we are covering here – the air permeability tester’s instructional manual.
How to Operate an Air Permeability Tester?
Testing air permeability of a material is one of the most important processes in the textile and garment industry. It helps to ascertain the quality and functionality of a given material. It is important to know how to operate an air permeability tester to get accurate results and efficient testing process.
What is an Air Permeability Tester?
Air permeability testing is defined as the flow of air through a material under certain conditions. It is an essential way to gert the breathability, porosity and air resistance of a material.
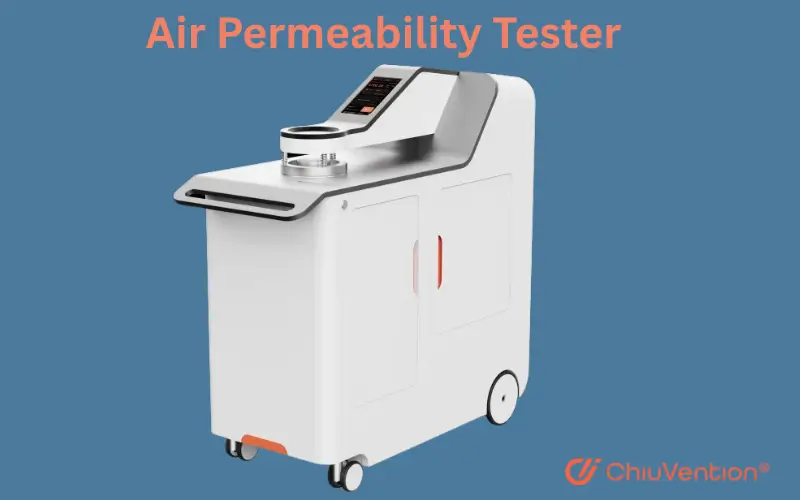
The breathability tester is scientifically known as an air permeability tester for fabric. It’s an instrument that is used to measure how much a material hinders air flow. Usually, a vacuum pump is used to pull air through a material section at an exact pressure, leveling off to an expected vacuum.
Core Functionality:
Picture a test chamber with a round hole. You place your fabric sample over this hole, and the machine acts like a large vacuum cleaner, pulling air through the fabric sample with a certain pressure. The stronger the airflow, the higher the air permeability, thus, a more breathable material. On the other hand, lower air permeability value means a tighter weave or a more dense material that is porous and resistant to airflow.
Components of Air Permeability Tester
An air permeability tester for Fabric has multiple components including a test chamber, a pressure system, and a differential pressure gauge. The test chamber holds the specimen, while the pressure system manages the airflow. The differential pressure gauge measures the difference in pressure between the two sides of the specimen.
How Does an Air Permeability Tester Work?
The tester operates on the airflow through a material under controlled conditions. Once air is supplied to the test material, the pressure drop over the material is recorded to determine air permeability.
Operating the Air Permeability Tester
You are all set, and now, let us proceed to the air permeability tester’s step-by-step operation.
Power Up and System Check
1. Turn on the air permeability tester according to the guidelines of the manufacturer.
2. Perhaps the device could carry out a
Sample Placement and Securing:
1. Locate the test head and ensure it’s clean and free from debris.
2. Carefully place your prepared sample over the test head opening, ensuring a flat and smooth surface.
3. Depending on the tester model, you might have a clamping mechanism to secure the sample firmly in place.
Setting Test Parameters (Pressure, Units):
Most testers allow you to set the desired test pressure. This value typically ranges from 100 Pa (Pascal) to 5000 Pa, depending on the material and relevant standards. 2. You can also choose the unit of measurement for the test results. Common options include cubic centimeters per second (cm³/s), cubic meters per second (m³/s), or CFM (cubic feet per minute). Refer to the testing standard or your specific needs for unit selection.
Initiating the Test and Data Acquisition:
1. Once the sample is secured and parameters are set, locate the start button on the tester. Initiating the test might involve pressing a button or activating a foot pedal (depending on the model).
2. The tester will automatically draw air through the sample at the predetermined pressure for a set duration.
3. Upon test completion, the instrument will display the calculated air permeability value on the screen in the chosen unit. Some testers allow data export for further analysis.
Calibration of the Air Permeability Tester
Calibration of the air permeability tester is important for precision. Ensuring proper calibration on the air permeability tester is done on the air permeability tester. While in the Calibration steps, one is prompted to set accurate calibration on the boundaries on the gauges partitions and differential gauge.
Preparation Before Testing
There are some preparations to be done before the error is reduced to the air permeability tester, setting airflow in a controlled ratio, setting airflow to the test chamber and positioning the components of the air permeability tester.
Conducting the Test
There are steps to conducting the test which include positioning the sample in the test airflow and initiate the air. As the sample material is actuated, the tester measures the airflow across the chamber till desired airflow is achieved. The test is executed beyond pre-programmed time frames and once the time is reached test data is downloaded.
Interpreting the Results
Interpreting airflow and pressure is the essential step after test execution. Lower pressure drops are correlated with air relaxation, thus leading to forgetting pressure for a material which suggests breathability and higher pressure relaxation leads to tightened air indicating reduced permeability, thus suggesting these on porosity.
Conclusion
The testing operation is needed for one to understand the business aspects of the air permeability tester in depth and therefore understanding how to test air permeabilty in a material should always be of utmost concern for any business.